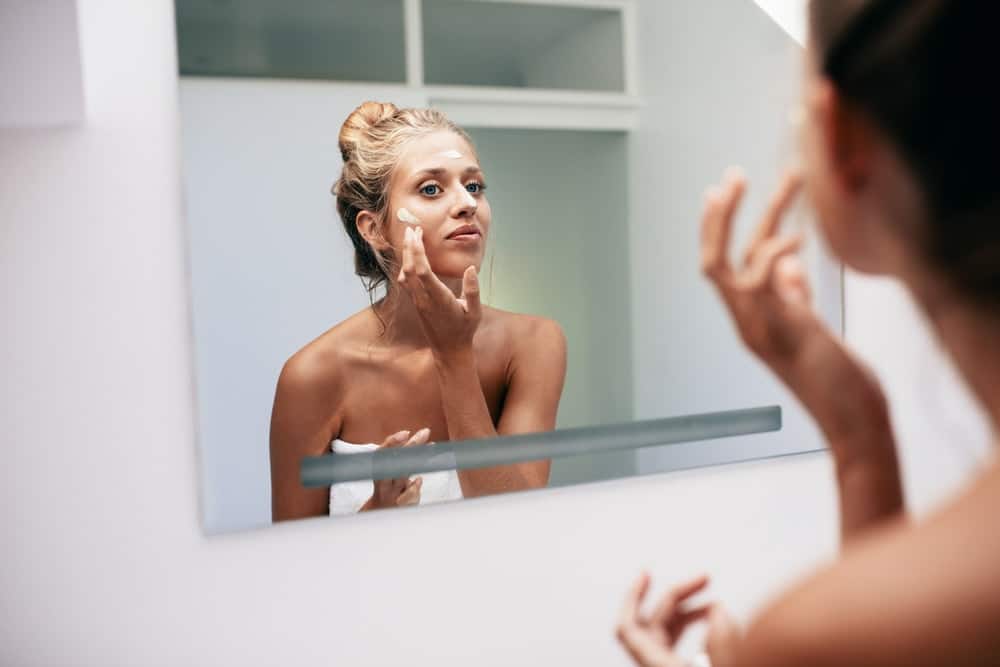
Primers are really important to make sure that your foundation lasts all day long and helps hide fine lines. Get it right for a flawless complexion, here’s how.
* Use Rosewater Spray
Makeup artists working backstage at fashion shows or shoots always use a chilled rosewater spray to mist the model’s face, which provides a fresh glow and calms any irritation.
* Choose the Perfect Primer
Before you even think about anything else, you must choose the perfect primer for your skin tone. It prevents make-up from smudging by absorbing oils from the skin, softens fine lines and neutralises redness. It’s not just for your face either!
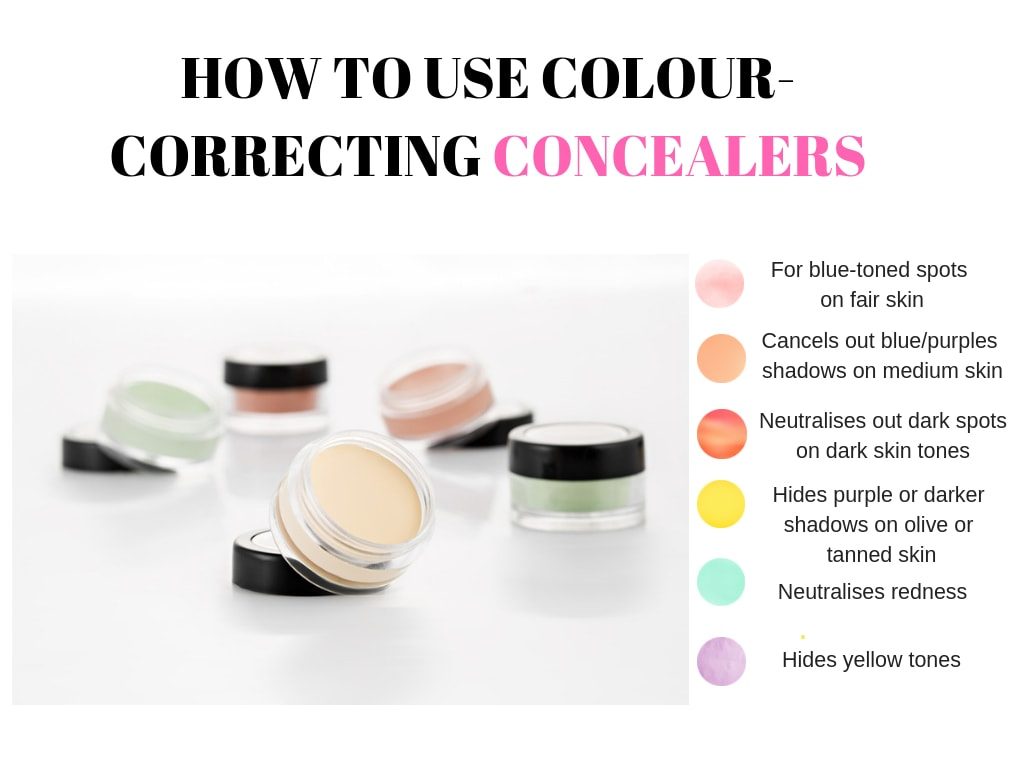
If your skin feels dull choose a light pink primer to give a subtle glow or opt for a lilac shade for brighter skin and a green primer to neutralise redness.
* Follow this Order
Always apply colour correctors first followed by foundation and concealer. It is important to follow this order for a flawless finish every time.
* Apply Thinly
Don’t overdo it; simply use a small drop, the size of a raisin to gently rub into your skin using your fingers to get an even coverage. Applying too much will pill under your foundation and using a brush will just drag the primer around.
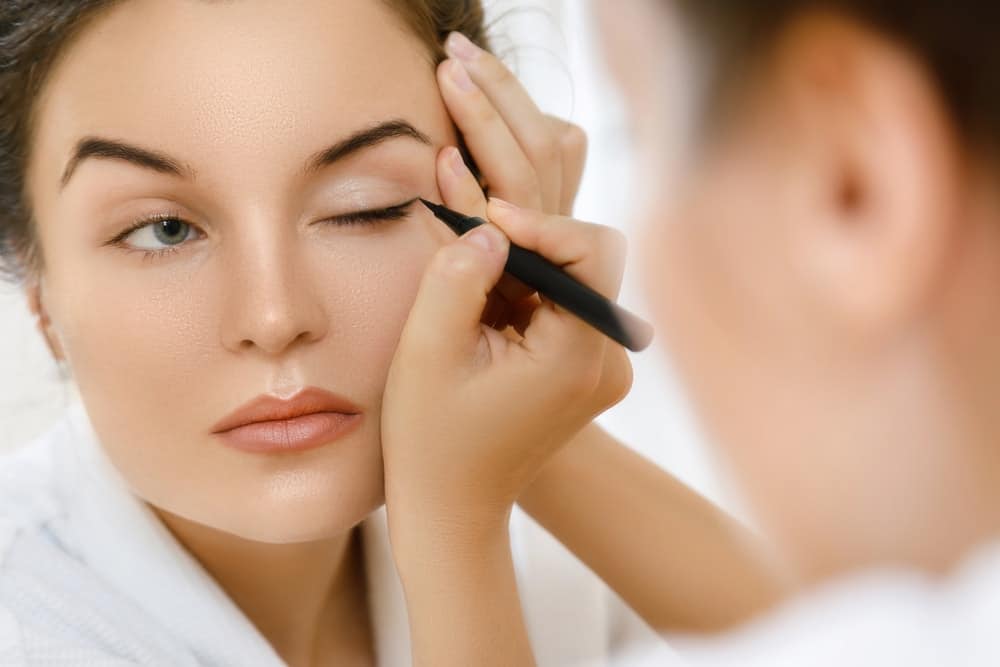
* Gently Apply to Eyes
Make sure that you delicately pat the eye primer around the eyes and lids before applying concealer and eye shadow. For those tired eyes, the primer dims those dark circles and illuminates the whole area. It also stops the concealer from creasing.
* Prime Your Lips
To keep your red lip from feathering or settling into lines, invest in a lip primer. Eye primers are also great for keeping your lipstick in place all day long. In fact, ones designed for your lids will do a much better job giving you a longer wear. You won’t need to touch up all day.
Foundation
Everyone wants to find and apply the perfect foundation to create even coverage that lasts all day.
We all have blemishes/spots and under eye circles that we wish to hide and make our skin look flawless.
* Choose the Right Consistency
Depending on the look that you wish to go for, there are three types of foundations that offer different coverage.
We’re talking sheer, medium and full.
For a light coverage opt for a sheer foundation, to hide redness or blemishes choose medium and if you want a full face of makeup an opaque finish is what you need.
* Don’t Forget Your Neck
It is important to consider the colour of your neck when choosing the correct foundation shade. You might have to find a foundation that sits in between the colour of your face and neck for a seamless blend. Apply to your chest also, especially if you’re wearing a strapless or low-cut top to disguise red blotches when you get nervous or embarrassed.
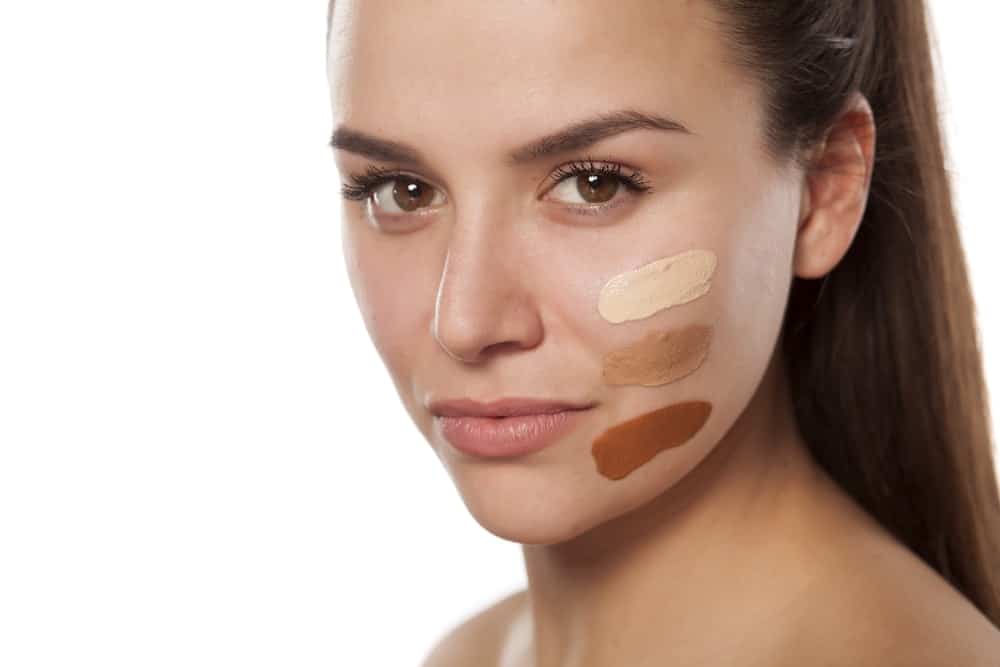
* Get the Right Shade
If you’re unsure which shade matches your skin tone test out different colours by swiping them on along your cheek/jawline. You will be able to see which one matches perfectly by comparing against your natural complexion and other foundation shades. It’s that easy to find the right foundation shade for you.
* Apply in Natural Light
If you do not have a window in your bathroom always check in natural light after you apply the foundation and before you leave the house. This will make sure that your foundation is even with no obvious lines.
* Consider the Seasons
During the summer months you may have developed a tan leaving your foundation a few shades too light. Simply add drops that can adjust the shade to your new skin tone otherwise your face will not match your neck.
* Start from the Centre
When applying your foundation always begin at the centre of your face and work outwards. This method leaves the most natural finish and stops a visible edge around the perimeter of your face.
* Blend over Ears and Neck
As well as your neck and chest apply your foundation over your ears too for a seamless finish. This will tone down your ears if they look slightly red and stand out against your complexion. The aim is to create a flawless look, which definitely includes the ears, which are usually forgotten.
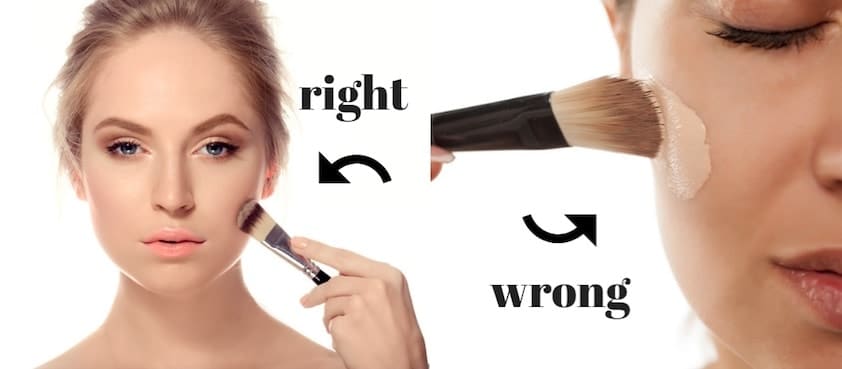
* Use Downward Strokes
When applying your foundation always work with downward strokes. We all have peach fuzz on our cheeks unless you choose to shave your face. It naturally grows downwards and is not noticeable to the naked eye. Therefore, working with the natural flow of the peach fuzz will ensure that it goes undetected whereas upward strokes will highlight it for everyone to see.
Concealer
Concealer also helps hid those signs of tiredness. Dark under eye circles, spots and blemishes, we all have them especially after a few sleepless nights and long days at photoshoots or fashion shows.
*Warm It Up
Prior to applying concealer, always warm with the palm of your hand for a smoother coverage. The heat softens the texture ensuring that the concealer glides on your skin.
*Mix with Moisturiser
If you would like a flawless finish, mix your concealer with moisturiser at a ratio of 1:3. It is very easy to blend and can be applied just about anywhere on your face to create perfection. You name it – the eyes, nose, cheeks…
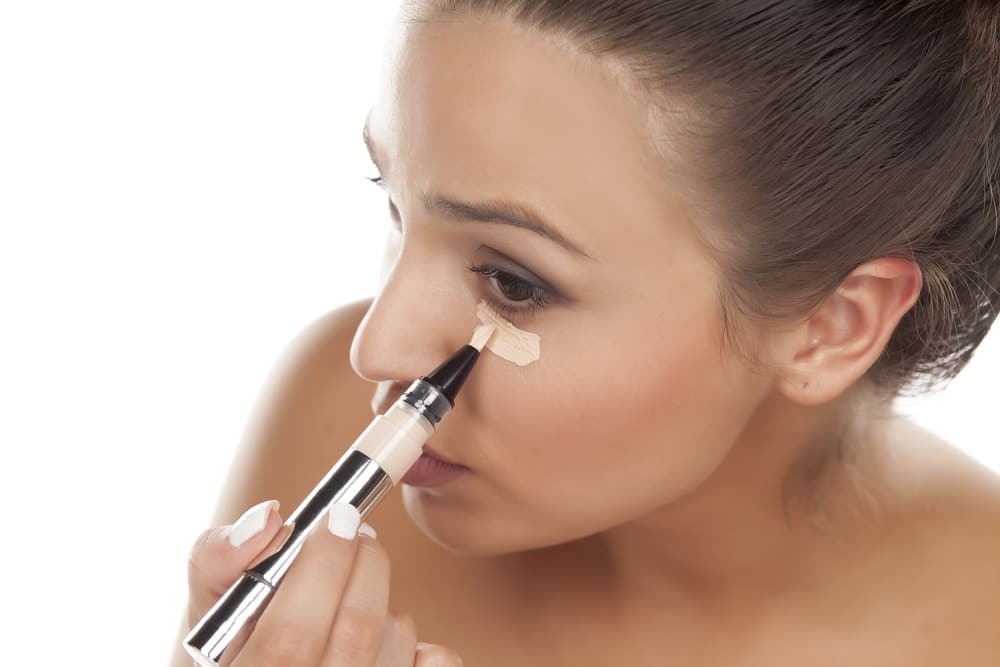
* Apply After Foundation
After you have applied your foundation, grab your concealer and cover those areas that need any extra help. You will use much less and if you put on before your foundation you will end up removing most of the concealer.
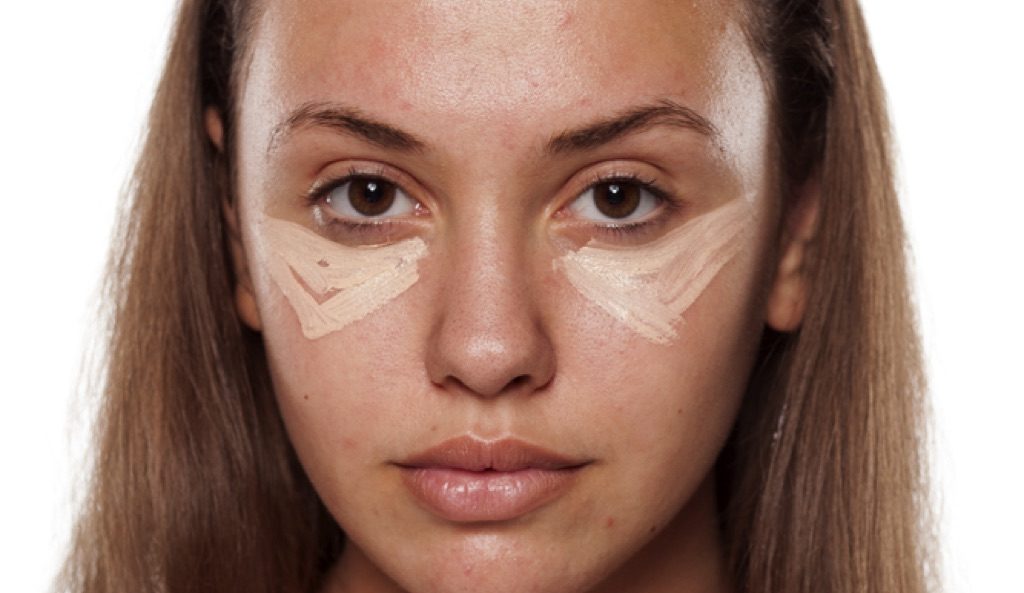
* Draw a Triangle
When applying concealer draw a triangle under your eye with the point towards your cheek. The triangular shape hides dark circles and creates the illusion that your face is lifted. Choose this over a circular motion.
* Green Concealers
When covering a spot it is worthwhile using a green concealer first to counteract the redness and then add the concealer that matches your skin tone perfectly. When applying to a spot use a clean brush and do not add to the skin around the pimple to avoid spreading bacteria.
* Avoid Eyelids
Never put your concealer on your eyelids, as it will cause for your shadow to crease, which is not a great look. Many think it is a good base yet once you’ve applied that pop of colour the lines will begin to show.
*Double Up
Are you fed up of your dark circles under your eyes? Simply double up on your concealer to hide those tired eyes for an instant refresh.
*Use Liquid Foundation
Liquid foundation can double up as concealer if you don’t have it to hand. All you have to do is place a small dot of the foundation on the desired area, give it a couple of minutes to set and lightly blend.
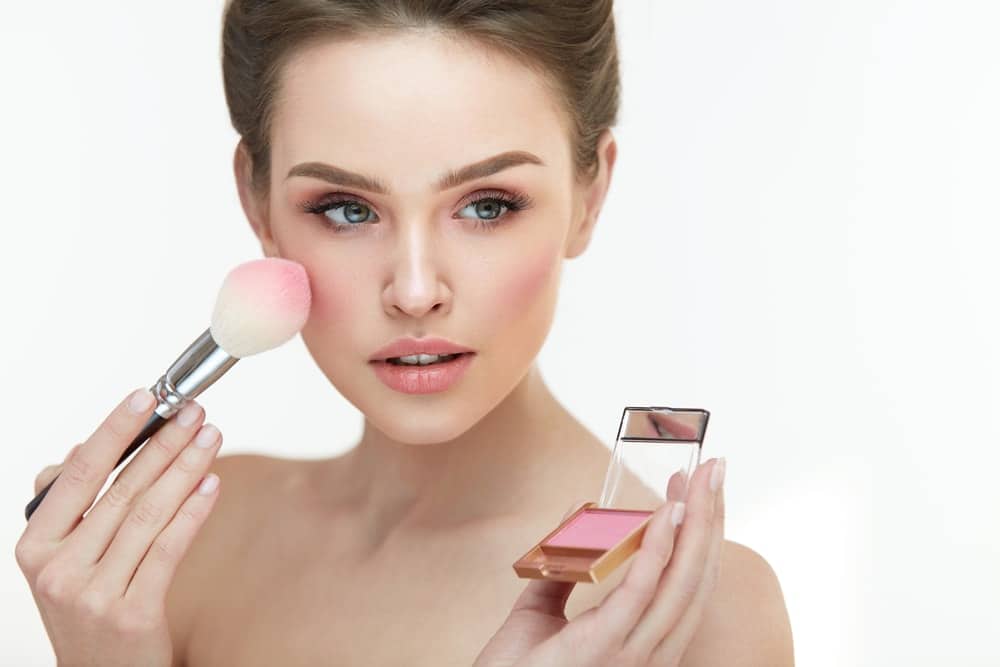
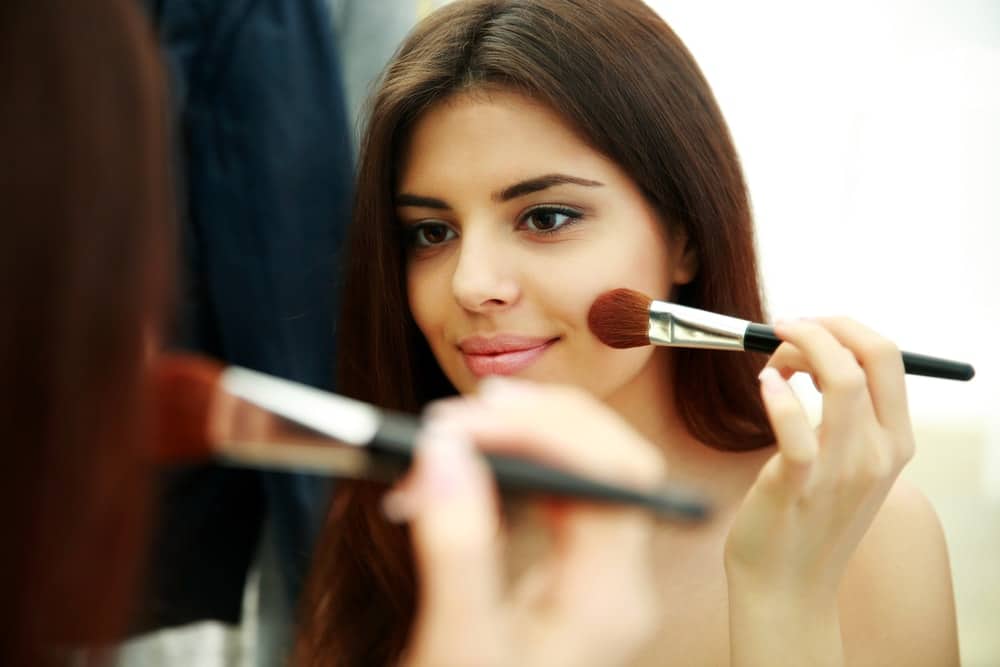
Blush/Bronzer
Add a subtle pink glow or a bronzed shimmer to your cheeks with your blush or bronzer. If you’re struggling on how to apply find our beauty tips below.
*Apply Blush under Foundation
Simply apply the blush first and then add foundation. It is a unique way to make you look like you are glowing naturally from within rather than an addition to your complexion.
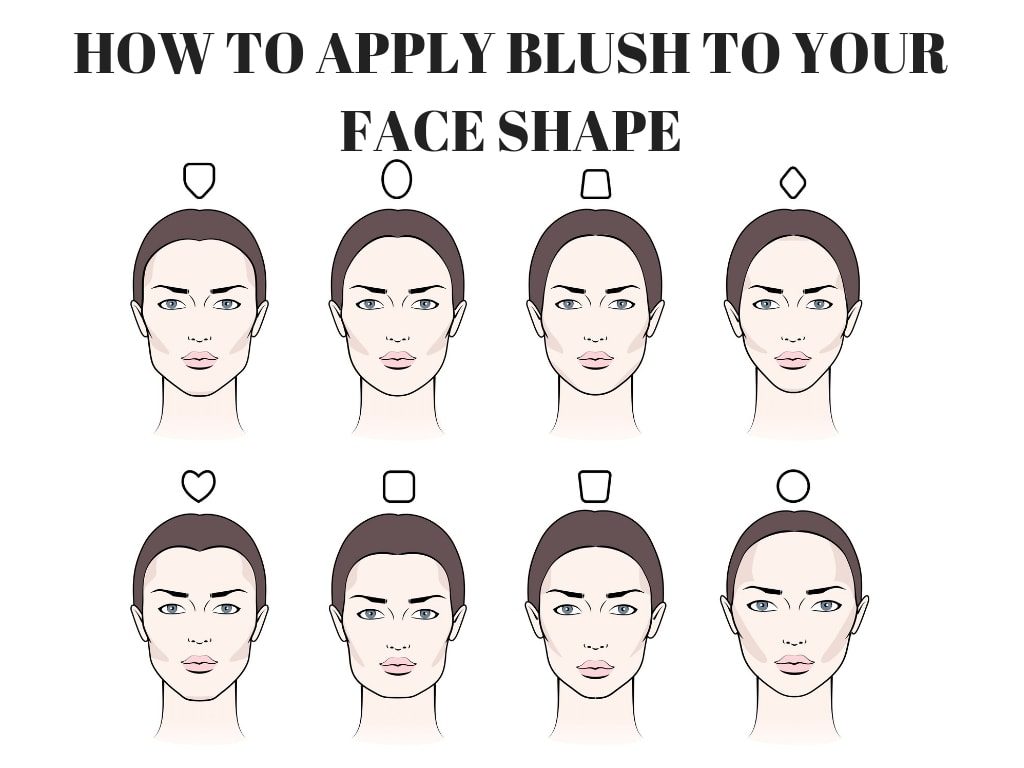
* Blush For Your Face Type
Before applying blusher, make sure you figure out your face shape. Blush cleverly contours and defines your cheekbones. It needs to be applied to the correct part of your face to accentuate your best features and soften areas you feel are too prominent.
* Blot with a Tissue
To create a beautiful flush of colour on your cheeks, blot with a tissue rather than a brush. Make sure that you press lightly after applying and finish with a makeup sponge or beauty blender.
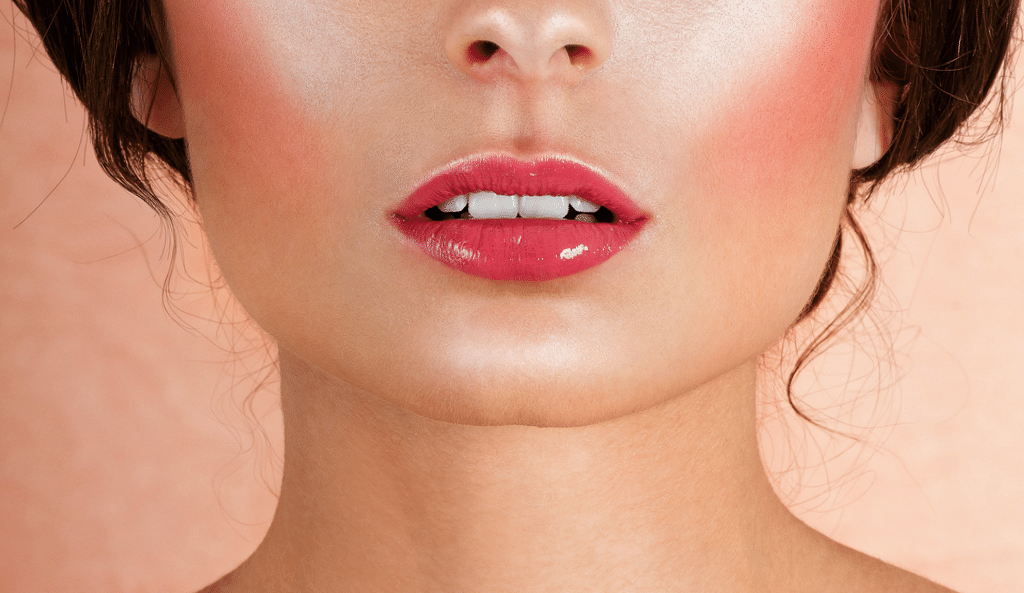
* Draw a Triangle
It is tempting to apply bronzer with a fluffy brush however; drawing two inverted triangles on your cheeks will provide a chiselled look. After applying blend it out to finish.
* Mark with a Pencil
To find where you should be applying your bronzer, simply roll a pencil, pen or makeup brush handle just below your cheekbone. If you’re struggling to find this it’s the pocket directly under the bone. Simply dust on the bronzer and then blend for a natural finish.
*Liquid or Powder?
If you prefer to use a liquid foundation set with a powder before applying a powdered blush to your cheeks. If you don’t, it will cause for the pigment to streak, which will become very difficult to blend. Always apply like with like, so if you’re using a cream blush apply it over the liquid foundation before setting with powder.
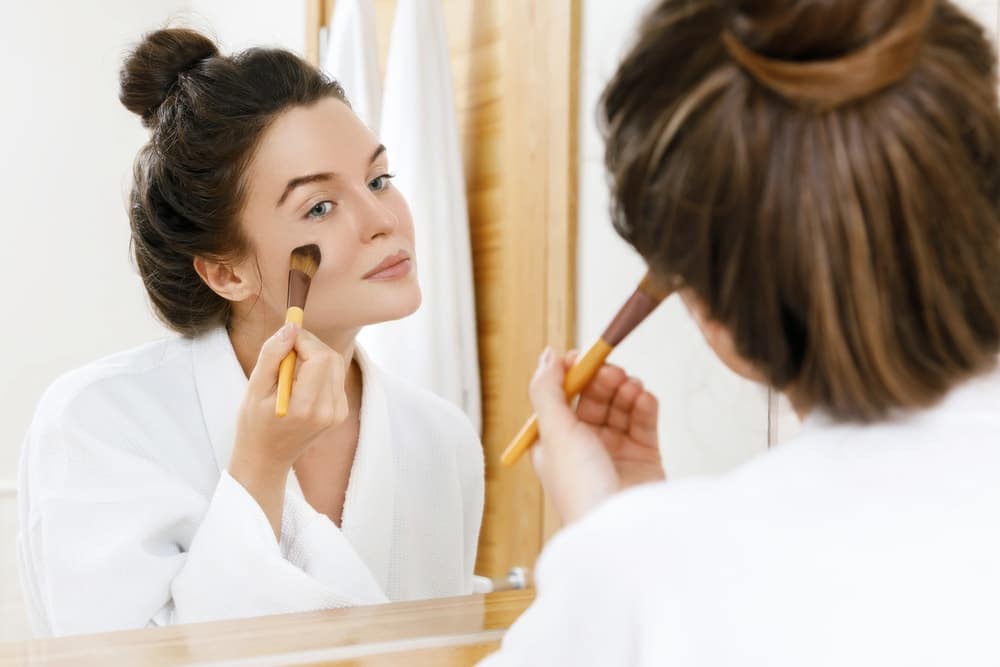
Powder
Whether you prefer to set your foundation for a flawless look all day long or touch up throughout the day, it is important to find the right powder for you. The right powder will disappear on your skin. You don’t want one that is darker or lighter than your natural complexion. And make sure to step outside or in a window to test the colour. Fluorescent lighting can never be trusted when it comes to makeup.
* Get to Grips with the Function
Do you want loose or pressed powder? Loose powder sets your makeup in place. It is advised to buy translucent forms to avoid adding too much colour to your foundation and concealer. A pressed powder is ideal for touch ups on the go.
* Choose the Finish
Both types of powder are available in a matte or dewy finish so it is worthwhile deciding on the look you wish to go for before parting with your money. A dewy powder gives a glowing finish whereas a matte one provides a more porcelain, textured look.
* Find the Right Brush
To create the best finish you need to find the best applicator in your budget. Make sure you use the fluffiest brush available to put your powder on. You will notice the difference once you’ve upgraded.
* Focus on Your Shiny Areas
Apply powder where you are naturally shiniest first. This is typically your T-zone. Once applied continue with a very light dusting everywhere else for an even coverage and finish.
Eyes
The right eye shadow, liner or mascara really makes your eyes pop accentuating your eye colour, lashes and shape. Get to know all our beauty secrets below.
* Make Your Eyes Pop
If you want to make your eye shadow really stand out with a pop of colour, cover your lids in white eyeliner pencil before applying your favourite shade. The white base really allows for the colour to pop.
* Join the Dots
If you struggle like most of us to draw a perfect straight line when applying your liner, simply draw small dots or dashes on the eye line. You can then easily join together to create a neat line your friends will be envious of.
* Easy to Do Smokey Eyes
Simply apply kohl on your upper and lower lash lines and waterlines before smudging. Draw a sideway ‘v’ shape on the outer corner and blend well to get that smokey eye look. This is especially good when you’re in a rush and only have a kohl pencil to hand.
* Stop Mascara from Clumping
Do you hate it when your mascara looks clumpy? A simple solution is to wipe off the excess on a tissue before applying. By doing this you only have the mascara you need on the applicator for a smooth finish.
* Curl Before Applying Mascara
A common mistake made by many is to use your eyelash curler after applying mascara. Always curl first as when mascara has dried curling can lead to breakages and short, stubby lashes.
Lips
Getting your lip colour just right finishes off your makeup look perfectly. Whether your weapon of choice is a lip balm, lip gloss or red lip you need to know our favourite tricks to get it just right!
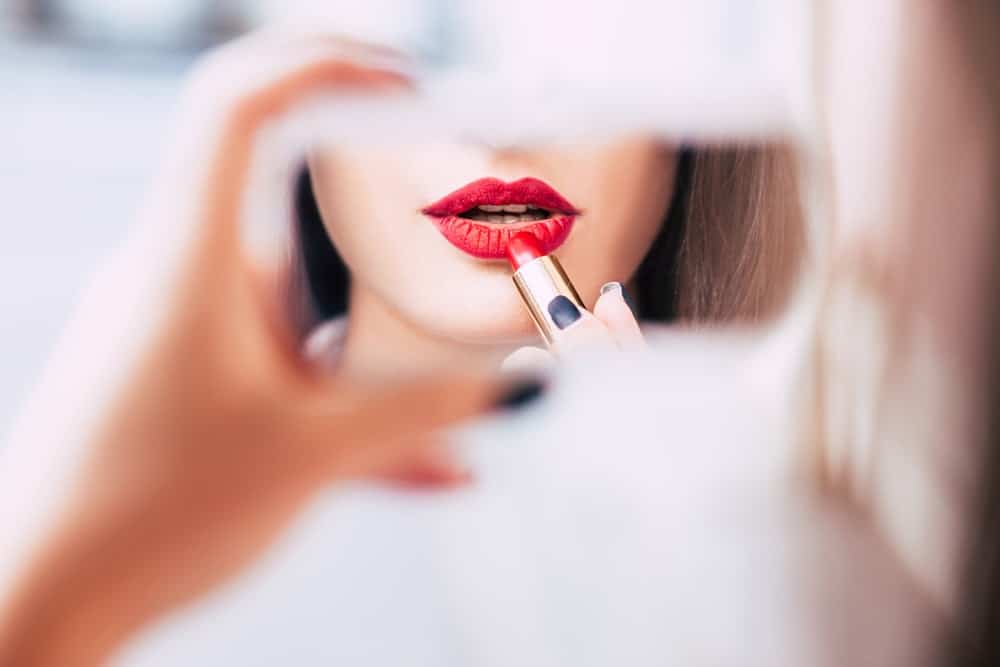
* Always Start from the Middle
Draw an ‘X’ where your cupid bow should be and continue to apply the lipstick working from this point to the outer edges. Beginning at the middle and working outwardly will provide a flawless finish.
* For Slightly Bigger Lips
To make your pout appear slightly bigger you can put liner outside your lips. Do be cautious, as it can look odd when not applied correctly. Always apply along the outer margins of your lips to ensure they look fuller and not comical.
* The Perfect Pout
For great results that last a long time, carefully dab a small amount of translucent powder after you have finished applying your lipstick. If you don’t have any powder to hand, a colourless eye shadow also does the trick.
* Avoid Lipstick on Your Teeth
It’s happened to us all however, we have the perfect tip to ensure it doesn’t again. Simply put your thumb inside your lip, pout and pull your thumb out! Any access lipstick that may have wormed its way onto your teeth will be removed.
Share this Post
Posted by Amy Bebbington
I express my love of fashion through writing, blogging and styling. My creative personality ensures that I produce unique and original work. I am a keen knitter and enthusiatic dancer.
 Amy Bebbington